

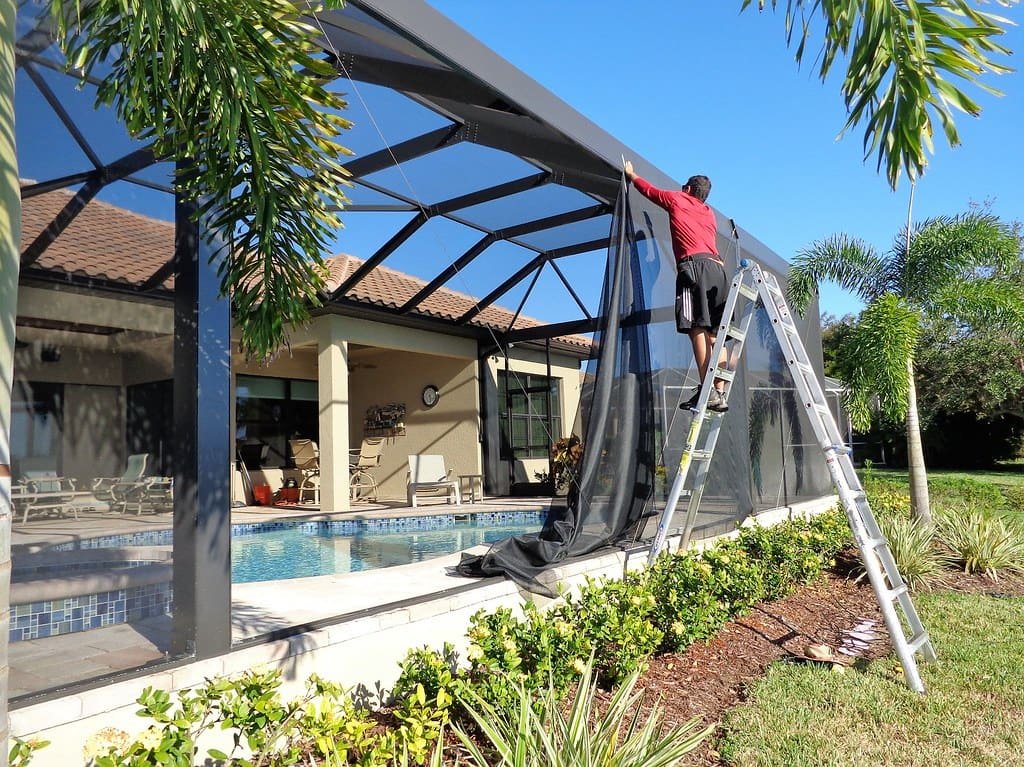
How to Repair a Pool Screen Enclosure in Florida Without Replacing It
If you own a pool in Florida, you already know what your screen enclosure deals with every year. Blazing sun, thick humidity, pounding rain, and the occasional hurricane all take a toll on your pool cage. Add in the bugs that would move right in without a screen, and it is easy to see why enclosures are such a common feature on Florida homes.
When homeowners notice torn mesh, a wobbly door, or a section of screen flapping in the wind, they often assume the entire enclosure needs to be replaced. That is true, but it still depends! In most cases, a pool screen enclosure repair can resolve the issue for a fraction of the cost of a full rescreen enclosure installation or rebuild.
In this guide, Florida Precision Screens certified professional guides you through what can actually be repaired and what causes the damage in the first place. Also, how to decide between a repair and a complete replacement.
What Can Be Repaired on a Pool Screen Enclosure
Most pool screen problems are localized. That means you are usually dealing with one damaged section, not a structural failure of the entire cage.
- Small Screen Tears: A small tear or puncture in one panel can often be patched, or the panel can be replaced on its own.
- Loose Spline: Spline is the rubber cord that holds the screen mesh into the frame channel. Over time, it dries out, shrinks, or pops loose in the Florida heat. Replacing the spline restores tension without touching the rest of the enclosure.
- Individual Screen Panels: If one panel has torn or sagged, it can be rescreened by itself. There is no need to rescreen the entire cage just because one section wore out faster than the rest.
- Minor Aluminum Frame Damage: Small dents or minor bends in the aluminum framing can sometimes be straightened or reinforced.
- Door Closers, Hinges, and Handles: Doors take the most physical wear. Closers slow down, hinges loosen, and handles break. These simple hardware repairs make a big difference in daily use.
- Rusted Fasteners: Florida’s humidity and salt air corrode screws and anchors quickly. Replacing rusted fasteners with stainless steel hardware often secures loose framing without any rescreening required.
- Roof Screen Damage: Roof panels see the most sun and storm exposure. Damage here can usually be repaired panel by panel, though height and access often make this a job for a professional crew.
When is Screen Enclosure Replacement Unavoidable
Replacement may be the better option in the following situations:
- If the Frame Fails: Multiple bent, cracked, or separating sections compromise the enclosure’s structural integrity.
- If Corrosion Spreads: Severe aluminum corrosion weakens the frame and makes repairs unreliable.
- If Screens Deteriorate: Most screen panels are torn, brittle, or sagging, making a full rescreen or replacement more cost-effective.
- If Storms Strike: Hurricane or falling tree damage has caused significant structural failure.
- If Codes Change: The enclosure no longer meets current Florida building codes or wind load requirements.
- If Stability Declines: Loose anchors, foundation movement, or age have made the enclosure structurally unsafe.
- If Parts are Unavailable: Replacement components for an older enclosure system can no longer be sourced.
- If Repair Costs Rise: The total cost of repairs is close to or exceeds the cost of a new screen enclosure.
DIY Step-by-Step Guide to Repairing a Pool Screen
The repair process depends on the type and extent of the damage. Small mesh tears may be suitable for experienced DIY homeowners. However, larger repairs involving frames, roof panels, or storm damage are usually best left to professionals. A typical repair follows these steps:
1. Inspect & Identify the Enclosure
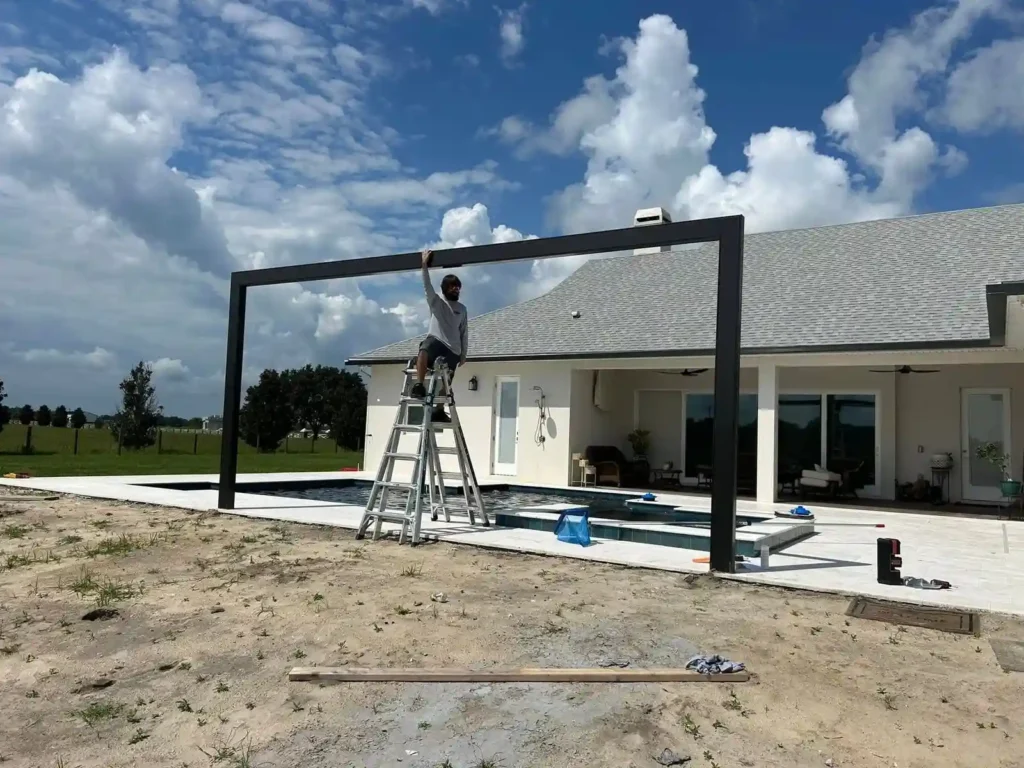
Start by inspecting the entire screen enclosure, including the walls, doors, roof panels, and frame. Look for tears, holes, sagging screens, bent aluminum, loose spline, rusted fasteners, and signs of corrosion. A thorough inspection helps identify all damaged areas before repairs begin.
2. Measure the Damaged Section
Measure the height and width of the affected panel frame carefully. Add at least 2 inches of allowance on all four sides, so you have enough material to pull tension before trimming.
3. Gather the Required Tools and Materials
Prepare everything you need before starting. Standard screen repair requires:
- Screen Mesh: Choose the right type for your local needs:
- Standard 18×14 Fiber Glass: Best for general airflow and visibility.
- 20×20 No-See-Um Mesh: Tighter weave to keep tiny gnat species out (popular in coastal/marshy areas).
- Pet-Resistant Screen: Heavy-duty vinyl-coated polyester built for dogs and cats.
- Spline: Standard size is usually 140″ or .160″, but measure your old spline to ensure a tight fit in the frame channel.
- Spline Roller & Utility Knife: For pressing the rubber cord in and trimming excess mesh.
- Ladder & Safety Gear: Gloves, eye protection, and proper ladder anchors.
4. Remove the Damaged Screen
Carefully remove the old spline from the frame channel using a flat-head screwdriver or spline removal tool. Once the spline is removed, lift out the damaged screen mesh and clean the channel to remove dirt, debris, or old spline fragments before installing the new screen.
5. Install the New Screen
Position the replacement screen mesh evenly over the frame opening, leaving enough overlap on all sides. Starting at one corner, use a spline roller to press the spline into the frame channel, securing the mesh gradually while keeping it aligned throughout the panel.
6. Inspect & Trim
Verify that the screen tension is firm without pulling the aluminum frame inward. Once secured, run a sharp utility knife along the outer edge of the spline channel to trim off excess screen mesh.
7. Check Screen Tension
Inspect the completed panel to confirm the screen is firm and evenly secured. Proper tension prevents sagging while avoiding excessive strain that could cause the mesh to tear prematurely, especially around the corners and edges.
8. Perform a Final Inspection
Trim any excess screen mesh with a utility knife and check that the spline is fully seated in the channel. Inspect the repaired panel for secure attachment, even tension, and a clean finish, then verify the enclosure is ready to withstand normal weather conditions.
| Prefer to Skip the Ladder & DIY Hassle?Save your time and avoid dangerous roof heights. Let our local screen enclosure specialists handle your panel repairs quickly, safely, and affordably today.Get Your Free Repair Quote |
8 Common Pool Screen Repair Mistakes to Avoid
Avoiding these common mistakes can extend the life of your pool screen enclosure, improve repair quality, and help you avoid unnecessary costs.
- Using the Wrong Screen Mesh: Choosing the wrong mesh type, weight, or weave for Florida’s climate can lead to premature tears and reduced durability.
- Selecting the Wrong Spline Size: A spline that is too large or too small will not hold the screen securely, causing it to loosen or pull out over time.
- Overtightening the Screen: Stretching the mesh too tightly places excessive stress on the corners and edges, increasing the risk of tears and shortening its lifespan.
- Ignoring Frame Damage: Replacing only the screen while leaving bent, corroded, or loose framing unrepaired can result in recurring problems and costly future repairs.
- Delaying Storm Repairs: Even small tears can quickly expand due to wind, rain, and UV exposure if they are not repaired promptly after a storm.
- Using Mismatched Screen Materials: Mixing different mesh types, colours, or grades across the enclosure can create uneven wear, inconsistent performance, and an unattractive patchwork appearance.
- Using Low-quality Materials: Inferior mesh, spline, or fasteners often deteriorate faster, requiring more frequent repairs and replacements.
- Skipping Routine Inspections: Failing to inspect your enclosure regularly allows minor issues to develop into larger, more expensive structural problems.
Safety Warning
Never walk, stand, or put direct body weight on the aluminum super-gutters or roof purlins of a pool screen enclosure. Aluminum beams can buckle instantly under concentrated weight, leading to severe falls. Always use an extension ladder anchored on solid ground, or leave elevated roof panel repairs to certified professionals equipped with harness equipment.
Pool Screen Repair vs Full Rescreen: Which Option Is Right for You
| Factor | Repair | Full Rescreen or Replacement |
| Cost | $50 – $150 per panel | $1,500 – $4,500+ (full cage) |
| Time | Often completed in a day or two | Can take several days, depending on the size |
| Longevity | Matches surrounding panels (3–5 yrs) | Restores baseline lifespan (8–12 yrs) |
| Appearance | May show a slight variation in mesh age | Uniform look across the whole cage |
| Best For | Isolated tears, 1–2 panels, door hardware | Multiple brittle panels, widespread storm damage, aging enclosures over 10 to 15 years old |
Cost Tip: DIY repairs usually cost under $30 in raw materials per panel. However, hiring a professional pays off when accessing high roof panels or repairing multiple panels safely in a single visit.
When to Call a Screen Enclosure Professional Immediately
While wall panel rescreening is doable on a weekend, you should always contact a certified screen specialist if you notice:
- Bent or Shifted Frame Sections: Indicates structural compromise that could collapse under wind load.
- Elevated Roof Panel Damage: Working at heights on wet aluminum frames carries a high risk without proper safety harnesses.
- Severe Fastener Corrosion: Structural screws snapped off at the base require specialized extraction and re-anchoring into concrete.
- Widespread Storm Damage: When more than 30–40% of the mesh is torn, a full rescreen is significantly more economical per square foot than individual panel rates.
Florida Precision Screens can inspect your enclosure and help you figure out whether a repair or a full rescreen makes the most sense for your home. You can reach the team at +1 407-924-6572 for guidance.
Simple Maintenance Tips to Extend Screen Life
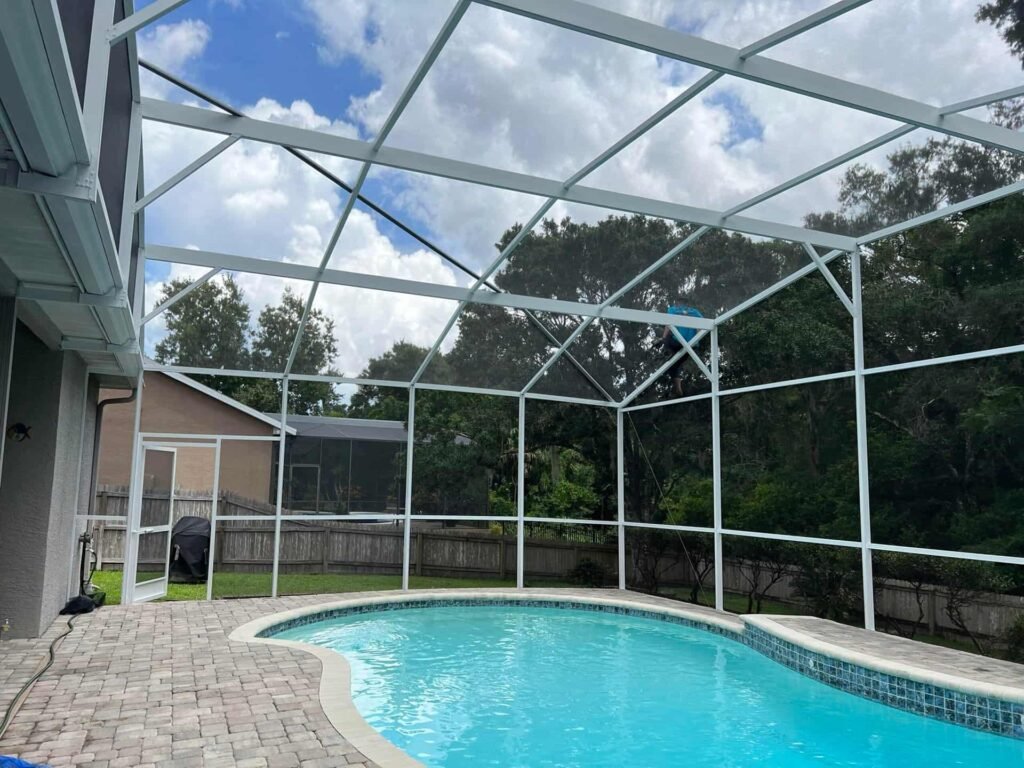
- Rinse Gently: Clean screen panels twice a year with a standard garden hose and soft bristle brush. Avoid high-pressure washing, which can blast spline right out of the channel.
- Trim Overhanging Trees: Keep tree limbs cut back at least 6–8 feet from the roof to prevent falling branches and moss buildup.
- Inspect Hardware Annually: Check door hinges, bug sweeps, and anchor bolts every spring before hurricane season begins.
Frequently Asked Questions
Can a pool screen enclosure be repaired instead of replaced?
Yes! Small tears, loose spline, individual damaged panels, and broken door hardware can easily be repaired without replacing the structure. Full replacement is generally reserved for severe frame corrosion, storm destruction, or structural collapse.
How much damage can be repaired?
One or two damaged panels, isolated frame dents, and hardware issues are generally repairable. If several panels are brittle or torn at once, or the frame shows damage in multiple spots, a full rescreen usually offers better long-term value.
What is the ideal timeframe for fixing storm damage?
As soon as possible. Wind entering a torn panel creates an “umbrella effect,” building internal pressure that can blow out surrounding panels or damage the frame in the next storm.
How long does a typical repair last?
A professionally installed screen panel will last between 7 to 10 years, depending on direct sun exposure, proximity to saltwater, and local storm activity.